Robert S
5 Stars ⭐️⭐️⭐️⭐️⭐️

Winter is on its way, if it’s not already arrived for you. One of the most cost-effective and easy ways to seal windows for winter is by installing winter window inserts. Insulating your windows for winter doesn’t have to come with costly replacements or extra labor; not when DIY winter window inserts can take all the hassle out of home protection.
Drafty windows can make your home freezing cold in winter as heat flows outside and force your air conditioner to work extra hard in the summer—leading to high energy bills all year long. To learn about the benefits of window inserts and to discover how to seal windows for the winter, both before the cold season and during, continue reading and prepare for immense time and money savings.
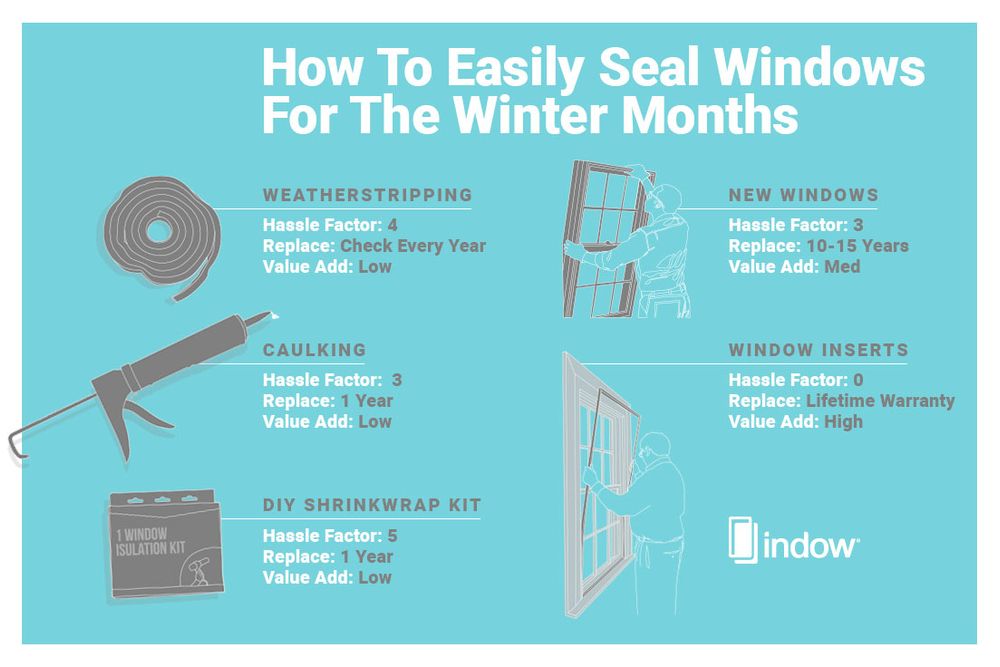
Before winter, you can choose from weatherstripping, extra caulking, draft stoppers, and DIY shrink-wrap kits in an effort to weather seal your windows and reduce the amount of drafts felt over the cold months.
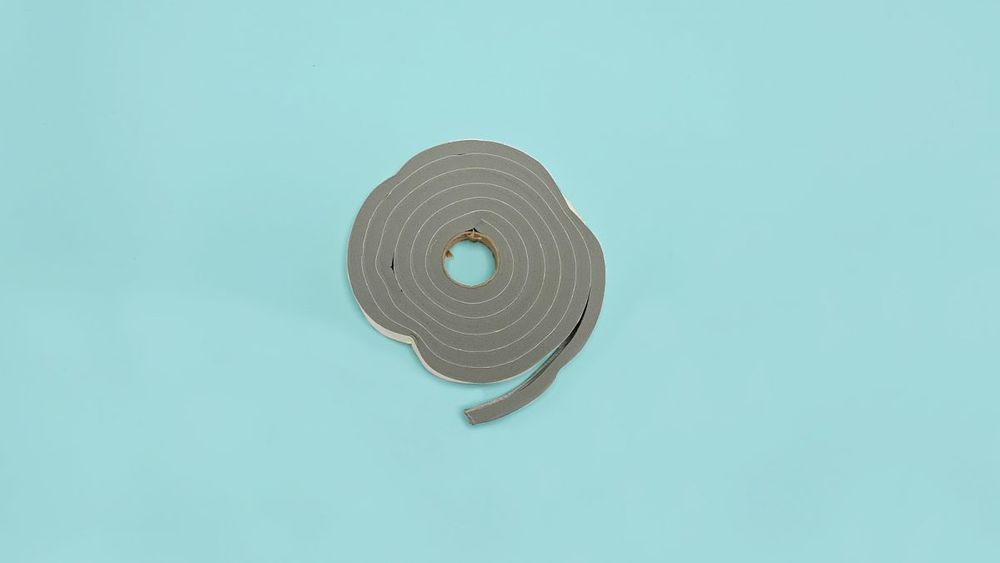
If you want to weatherstrip, measure the perimeters of each window and then add 10% to account for materials. You can choose vinyl, felt, or metal weatherstripping materials. They range widely in price and capabilities so do your research before choosing to ensure you get the right one for your home.
Before applying your weatherstripping, clean your windows, make sure they are dry, and that the outside temperature is at least 20 degrees Fahrenheit. Apply weatherstripping snugly against both the sash and frame. Be careful not to interfere with the operation of the window.
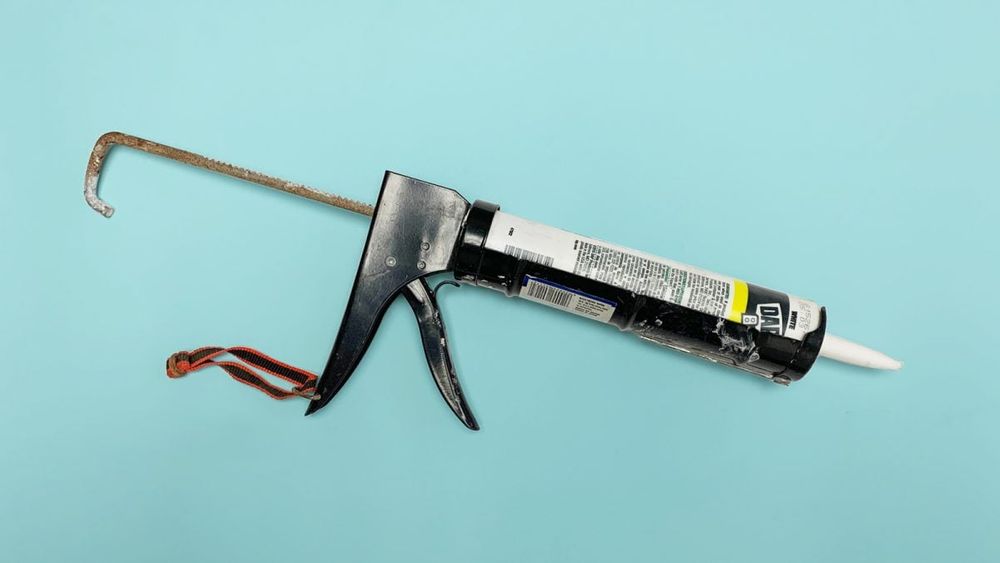
If you choose caulk to seal your windows, first clean them and make sure they are dry. You can apply caulk to all joints in a window frame and the joint between the frame and your wall. Make sure your caulking gun is held at a consistent forty-five-degree angle to get deep into the cracks.
Caulk in one continuous stream to the best of your ability, and if it oozes out of the crack, use a putty knife to push it back in. Caulking is tricky and definitely takes practice. It’s important that you make sure not to skimp on the amount. If the caulk shrinks into the crack, reapply to ensure a smooth bead is formed to seal your cracks completely.
You can also DIY draft stoppers or shrinkwrap kits. It will take a lot of materials—both in the number of tools and the amount of each material—including fabric, scissors, tape, insulating material, shrink wrap, straight pins and, more than likely, a sewing machine. For a DIY draft stopper, you’ll need to measure your windows, cut your fabric, fold it in half, sew seams, turn the fabric tube inside out, add insulation and sew it together.
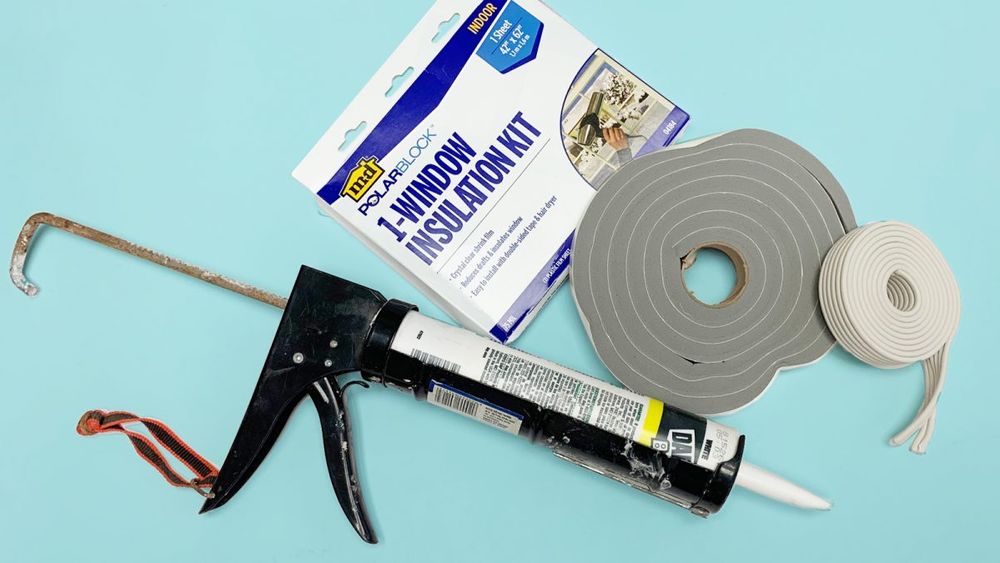
To shrinkwrap, you need to apply double-sided adhesive on all sides of your window. Cut it to your desired length with a little extra on the sides. Add shrinkwrap to the adhesive starting at the very top and pull it as taut as you can on the way down the window frame. Blow-dry an inch or so away from the wrap until the wrinkles are gone and trim the edges with a box cutter.
Each of these methods is a decent way to reduce drafts and save a little bit on your utility bill during the winter. However, they are all very time-consuming and several can be difficult to install correctly. Not to mention, they can be an eye-sore even if done perfectly.
The easiest, less time-consuming, and most aesthetically-pleasing way to seal your windows will be using a window insert.
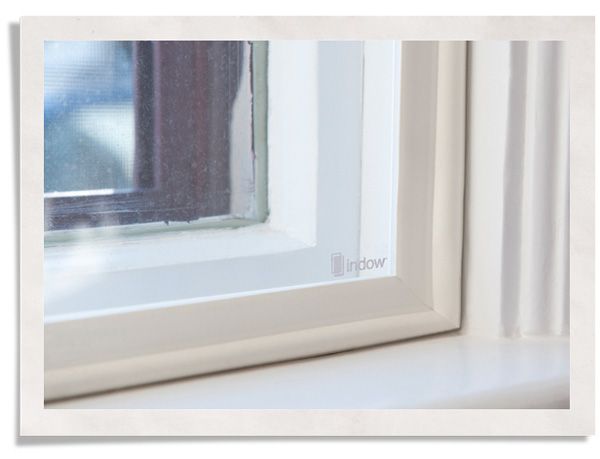
Sealing windows for winter is incredibly important, but installing windows in the winter is time-consuming and downright exhausting. It’s cold, requires construction, extra labor, and it really makes your wallet take a hit before the holiday season. Instead of installing brand new windows, you can reduce your hassle and get all the benefits of new windows, with interior storm windows, also known as window inserts.
Window inserts greatly reduce, or entirely eliminate, condensation on existing windows. When you purchase a high-quality insert, it enables homeowners to get energy savings equivalent to standard double-pane windows at 15-20% of the cost. All while nearly disappearing when installed, allowing the aesthetics of original wood windows and the home’s beauty to shine through.
By increasing insulation through the windows, you are able to:
And because of your savings on heating costs, your energy efficiency is improved and your carbon footprint is virtually eliminated.
If your home is older, has some wear and tear, or you live in a harsher climate, then you should consider investing to get it in good shape going into winter. Not only will you be more comfortable through the season, but you will save more in maintenance and energy costs long term. As an added bonus, you will add value to your home.
Many weatherizing solutions can’t be installed during the actual winter. For example, when it comes to caulking, the temperature needs to be higher than 45 degrees Fahrenheit to achieve the best results.
So, if you procrastinated weather protection measures, or if you thought you could get away without, and catch yourself with a draft, caulking, weatherstripping, and other methods will not work for you. And full window replacement can be miserably cold as you will have a hole in the side of your house until the new window can be installed.
Indow® has customized inserts that fit snugly into your existing window frames. Once in the frame, they create an airtight seal that blocks the cold, outside noise, and harmful UV radiation.
Indow uses proprietary software to design compression-fit inserts that fit into virtually any existing window. They can be installed without hardware and are undetectable once in place. Unlike other solutions, Indow inserts are custom made with a laser-measuring system.
Since homes and buildings settle over time, most windows aren’t square. To seal window drafts effectively, Indow custom-makes inserts to be the exact shape of your window frames. The laser measuring system ensures each insert fits every window just right.
The patented compression tubing allows you to easily install or remove your inserts without damaging your existing windows with a mounting bracket or track system. The thermal acrylic increases the surface temperature of your existing windows, which raises the overall room temperature and lowers your energy bills.
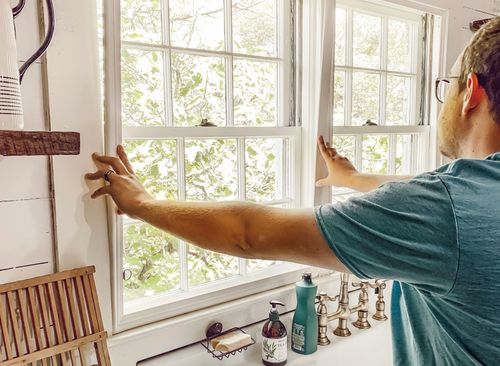
Indow window insert installation is incredibly simple. A full installation can be completed in a few minutes per window and there is no construction necessary (so no holes in the side of your home!). If you accidentally waited too long to install inserts during the fall and winter weather has already arrived, no problem. The inserts can still be installed during the cold, harsh winter months from the comfort of inside your home. No more questioning how to seal leaky windows in winter.
Insulating windows for the winter instead of installing new windows in the cold is an easier, quicker, and more feasible solution. Don’t believe us? Check out the thermal imaging one of our satisfied customers took of their home after installing Indow inserts to replace his plastic window kits.
Greg happily told us, “I can see out my windows in the winter and let light in on a sunny day. My house is no longer a dark cave with little light in the winter.” He started by installing Indow inserts in one room to make sure the fit was perfect and to see if they made a difference. After the success of his imaging test, he moved forward with the rest of his windows in his Albuquerque home.
Want to learn more or get started on protecting your windows for the winter today? Check out all of the window inserts Indow offers, or get started on your free estimate today.
Request a Free Estimate. We'll provide you with a preliminary estimate based on your basic window dimensions. It's quick and easy!
Measure your windows with our easy-to-use laser measurement kit. We'll guide you through the simple process, ensuring a perfect fit.
Customize your inserts to match your needs and your aesthetic, with tubing colors that seamlessly blend into your space.
Transform your space with custom-crafted inserts shipped directly to your home, ready to fit perfectly in your windows.
You're one step closer to creating more comfort & quiet in your home.
To receive a customized estimate for your space or learn more about how Indow inserts can improve the comfort, quiet, & efficiency of your home, fill out the fields below.
We value safety and privacy. We will never share, sell, or rent your data to third parties not directly related to your purchase or consideration of our products. Read our full policy here.
Indow has insulated more than 23,000 buildings - helping reduce carbon emissions by nearly 200,000 tons - and creating comfort across the US & Canada!
We moved into a home right next to a busy highway. The window inserts have allowed us to sleep without wearing earplugs. The difference is dramatic. Please note that the inserts don't reduce noise to 0; this is especially evident with large rock hauling trucks. Even though we still hear noise from these (VERY) loud sources, Indow Window inserts have been able to dramatically reduce the noise to the point of allowing us a normal existence in our home. Thanks Indow!