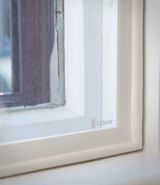
Indow Inserts Work Great With Blinds And Curtains
When you have an inside-mounted blind or shade in your window frame, there are a couple options to achieve a tight fit. Whether you plan on installing between your blinds or over your blinds, make sure to follow our spacing guidelines for the best fit when installing your insert. Contact your Fit Specialist or Start An Estimate if you have any questions about installing Indow inserts with blinds or shutters.
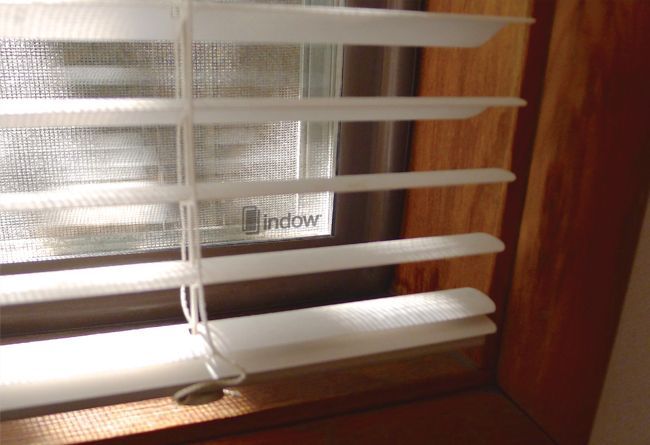
For the silicone tubing to achieve a 99% airtight seal, Indow Inserts are made to the exact specific dimensions of your frames. The inserts must be installed perpendicular to the window frames, they cannot be installed at an angle to clear the blinds.
For those seeking noise reduction, we want you to trap as much air between the insert and window as possible. Trapping air allows you to trap sound. An inch of airspace is recommended, but more airspace is better; trapping three inches of airspace can reduce noise by nearly two additional decibels.
Option 1:
Installing Behind Blinds
This diagram shows there is more than enough room at the top of the frame step between the window and the hardware for the blinds. The green area depicts the minimum amount of space needed for the insert.
Installing your Indow insert between the blinds and the glass is a great option for people who are primarily seeking energy efficiency and comfort.
To install your blinds alongside your Indow insert, you have two options:
Remove your blinds, position the Indow insert closer to the glass, and then rehang your blinds.
Raise your blinds and follow the steps outlined below.
INSERT INSIDE WINDOW FROM BEHIND BLIND
Pull blinds all the way up so they're out of the way. Make sure there's 1 ¼" of depth between the blinds and glass.
Align the insert so it's in the center of the window, slide the insert up behind the blinds.
Push the insert upwards to compress the top tubing.
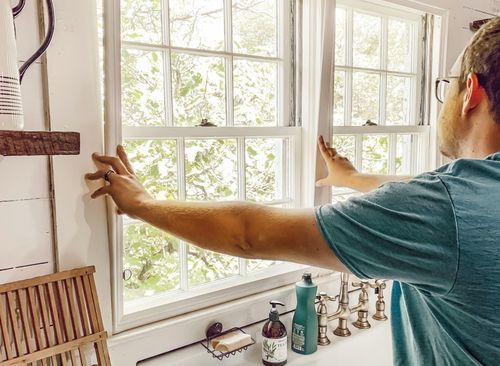
Bend the insert and tuck the bottom of the insert into the frame. Apply gentle and equal pressure to the left and right sides of the tubing, until the insert is fully seated in the window frame.
Test blinds to make sure the insert is positioned correctly and there are no obstructions.
Option 2:
Installing In Front Of Blinds
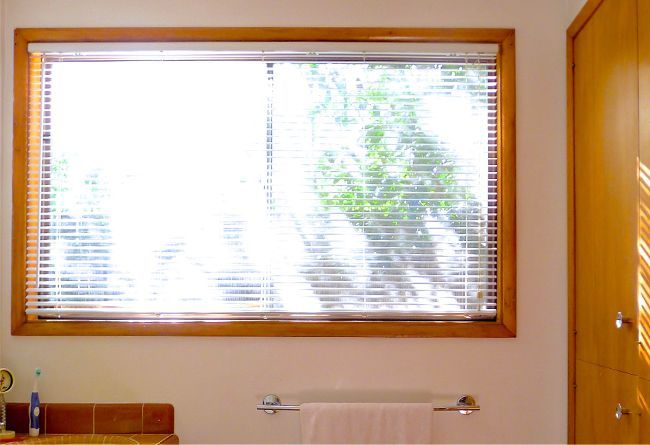
This option lets you keep your blinds between the insert and the glass, taking full advantage of your window's depth. You'll need at least 5/8" of space in front of your blinds.
This is ideal for motorized blinds or blinds that typically stay in one position. The convenient metal D-ring on the bottom left corner allows for quick and easy removal of the insert whenever you need to adjust your blinds.
Option 3:
Move Or Remove Your Blinds
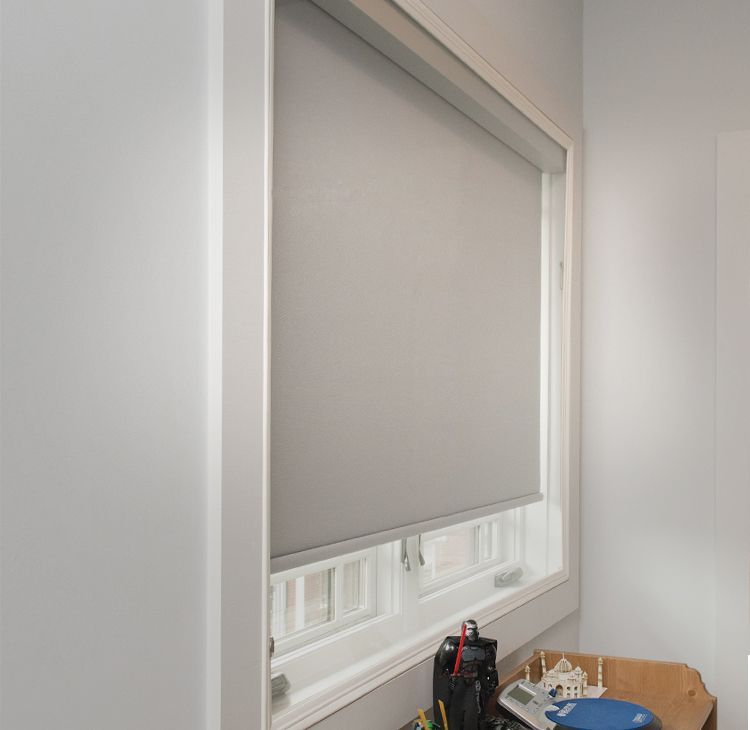
Many customers, especially those seeking noise reduction, find it's best to remove the blinds to get optimal results. You can then remount your blinds just outside and above the window frames. To conceal the blinds, you might add a wooden valance. Alternatively, you could switch to sheers or curtains.
MOVING A BLIND FROM AN INSIDE MOUNT TO AN OUTSIDE MOUNT
When Plantation Shutters Are Installed
If your shutters are inside your window frame and have stops (those little pieces that prevent the shutters from swinging too far) on more than one side, it might be tricky to install the insert because the stops get in the way. This requires a workaround.
The inserts need a clear path to slide into place. Since they can't fit through a space narrower than themselves, it's necessary to fill in the gap between the shutter stops and the window. This creates a flat surface level with the stops, making it easy to slide the inserts in and out.
To create a flat surface for the insert to slide into, it's common to use small pieces of wood cut to the right size. If you're hesitant to make permanent changes, you can simply wedge these wood pieces in place without gluing or nailing them down. This works on the sides and bottom of the window. You don't need to fill the top.
The visual below shows shutters that are mounted inside the window frame so you can see the "gutter" or "channel" between the shutter stops and the window that would need to be filled:
Indow For Your Windows
- 1
Request a Free Estimate. We'll provide you with a preliminary estimate based on your basic window dimensions. It's quick and easy!
- 2
Measure your windows with our easy-to-use laser measurement kit. We'll guide you through the simple process, ensuring a perfect fit.
- 3
Customize your inserts to match your needs and your aesthetic, with tubing colors that seamlessly blend into your space.
- 4
Transform your space with custom-crafted inserts shipped directly to your home, ready to fit perfectly in your windows.
We value safety and privacy. We will never share, sell, or rent your data to third parties not directly related to your purchase or consideration of our products. Read our full policy here.
