Care Guide
Indow window inserts are made from acrylic sheets. If not cared for properly, acrylic will scratch or cloud. Unfortunately we are not able to cover scratching under our warranty, or clouding due to the use of ammonia, alcohol, or bleach based or acidic cleaners. For proper storage and cleaning procedures please follow the instructions listed in this care guide.

Cleaning
We recommend the Indow Cleaning Kit to clean your Indow inserts safely. For non-greasy dirt or dust, spraying with water and then wiping with a microfiber cloth will often work best (we do not recommend dry dusting). To clean greasy stains, spray two or three pumps of the cleaning solution, using a lightly dampened cleaning kit towel to distribute the solution. Wipe away all remaining moisture with a second lint-free towel to prevent streaking.
If the Indow Cleaning Kit is not available, then use a soft, lint-free, nonabrasive cloth, such as a microfiber towel, and a mild, ammonia and alcohol free cleaner such as diluted dish soap to clean your Indow inserts. We recommend a diluted mixture of all-purpose castile soap. Suggested ratio: 1/2 tsp. to 16oz of distilled water.
Do not use any ammonia, alcohol, or bleach-based cleaners such as Windex, Clorox or 409. Do not use lemon juice or vinegar.
Do not use paper towels, newspapers or rough cloths. Use only microfiber cleaning cloths.
Removal
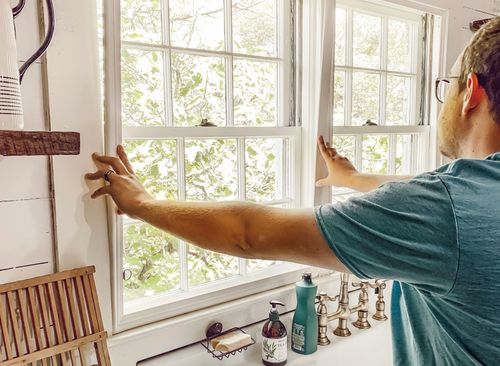
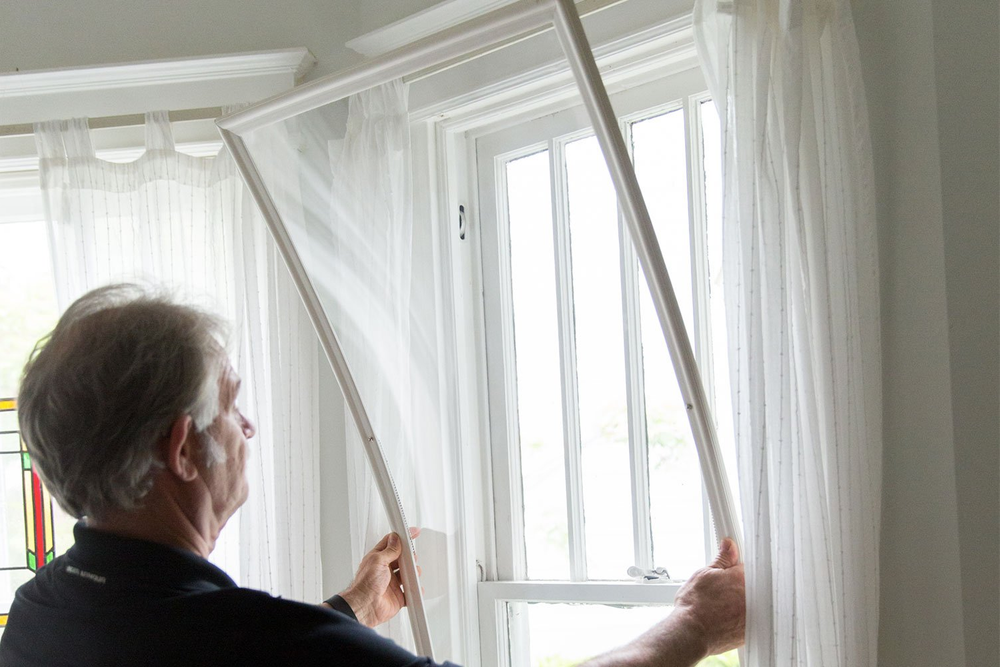
Larger windows may require two people for easy removal. To remove an Indow insert, gently pull the D-ring to break the Indow insert’s seal with the window frame. Then pull the edge of the Indow insert the rest of the way out while holding onto the opposite side of the Indow insert. Handle carefully to avoid scratching the acrylic.
Re-installation
Larger windows may require two people for easy re-installation.
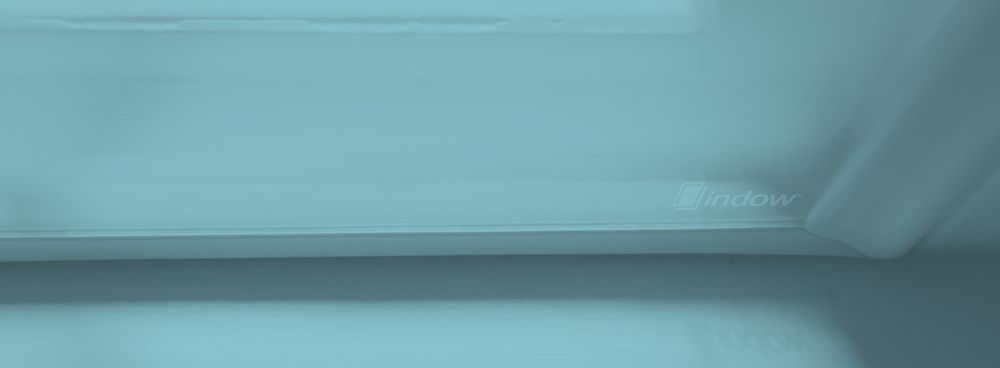
- Place your Indow insert on the sill. Make sure you have the right Indow insert for the opening and that it is in the correct orientation. The product etching should be in the lower right hand corner, on the back and facing toward the existing window.
- If there are safety chains, hook the safety hardware into the brackets attached to the window frame on each side.
- Center the Indow insert in the window frame. On both sides, the tubing should be slightly larger than the window opening and should overlap equally on both sides.
- Square the bottom of the insert in the frame. Push in the bottom and tuck in the corners.
- Work your way up the sides of the insert, gently pressing into place and ensuring one side isn’t compressed more than the other.
- Press the middle of the top edge into the frame and work your way out to the corners.
Storage
Many Indow inserts can be left in place year round with the occasional removal for cleaning. If an Indow insert is removed for an extended period, proper storage is essential. You can make storage sleeves for your inserts out of non-abrasive material. Nylon or other smooth synthetic materials such as bed sheets (check thread count) or plastic sheeting will work.
If you wish to remove your Indow inserts, the best option is to store them flat on the floor with the largest on the bottom. Do not stack more than 3 high, and only have compression tubes touching to prevent bowing or warping. Indow inserts can also be stored vertically, straight up and down against each other, not leaning. A protective barrier, such as a sleeve, should be placed between each Indow insert to prevent scratching.
Scratch Repair
In some cases, it may be possible to lessen the appearance of scratches by using a plastic polish such as Novus 2 or 3, which can be found at most major hardware stores. Be careful to follow the manufacturer’s directions as the incorrect use may damage your Indow insert.
Purchases Prior to 2015
If you are in need of service and purchased the product prior to 1/1/15, please review this warranty version This warranty is for archival purposes only. We no longer offer the storage sleeves mentioned in this version. Please follow the storage instructions listed on this page or in this video.
If you have any questions or would like more details on storage procedures, please contact us at comfort@indowwindows.com.
Indow For Your Windows
- 1
Request a Free Estimate. We'll provide you with a preliminary estimate based on your basic window dimensions. It's quick and easy!
- 2
Measure your windows with our easy-to-use laser measurement kit. We'll guide you through the simple process, ensuring a perfect fit.
- 3
Customize your inserts to match your needs and your aesthetic, with tubing colors that seamlessly blend into your space.
- 4
Transform your space with custom-crafted inserts shipped directly to your home, ready to fit perfectly in your windows.
WE SHIP TO YOU!
You're one step closer to creating more comfort & quiet in your home.
To receive a customized estimate for your space or learn more about how Indow inserts can improve the comfort, quiet, & efficiency of your home, fill out the fields below.

We value safety and privacy. We will never share, sell, or rent your data to third parties not directly related to your purchase or consideration of our products. Read our full policy here.


