Receiving Your IndowONE Inserts
We take every precaution to safeguard your shipment against damage, but damage can occur once the product has left the Indow factory. Our freight shipments are shipped in two configurations. (See below.) Totes are for bulky units or unit quantities of 1-8. Crates are used for shipments exceeding 8 units.
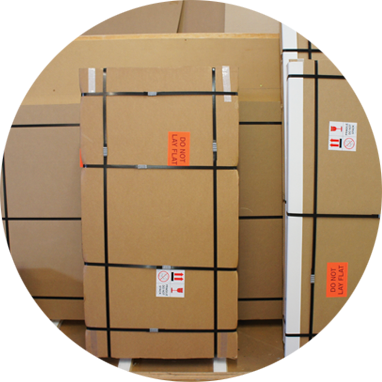
SMALL BUNDLES (GROUND)
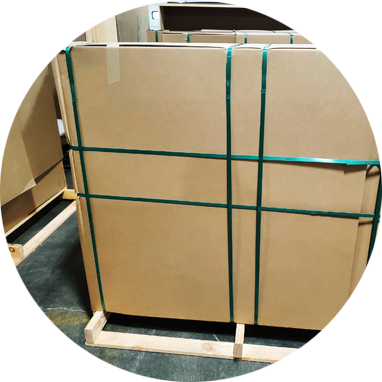
REGULAR SIZE TOTE
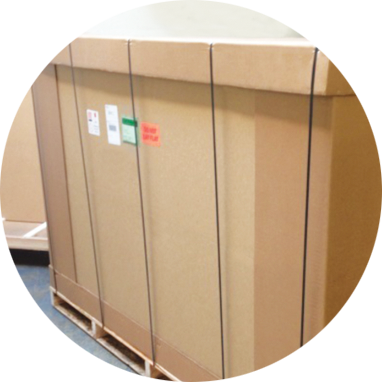
CRATE (FREIGHT)
As per the terms of your order, title passes to you once the shipment has been picked up by the carrier. Please do not refuse the shipment, even if you see or suspect damage. If the steps below are followed, Indow will manage the carrier freight claim and ship replacement inserts to you at no charge. Indow reserves the right to include the replacements in a bundled shipment.
During Inspection
- Inspect the freight before you sign for it.
- When signing for freight, write "SUBJECT TO INSPECTION" if you cannot inspect before signing for the delivery.
- Note on the freight bill any damage at the time of delivery (corners crushed, tears, rips, slices) in as much detail as possible.
- Note any shortages on the freight bill.
- If you suspect internal damage, open immediately while the driver is present. The driver cannot leave until the shipment has been signed for.
- Common signs of mishandling include holes in exterior side walls, crushed corners and damaged wooden pallets.
- Open the carton(s) within 24 hours to inspect thoroughly.
- Take photos of the packaging and the damaged product.
If Damage Is Found
- Note the freight damage on the freight bill and contact us immediately.
- Hold all damaged goods and packaging materials in the original location for possible inspection by the carrier.
- Keep a copy of the signed freight bill.
- The carrier, at their sole discretion, may require the damaged product be packaged and made available for pickup.
Please notify us at https://
STEP 1
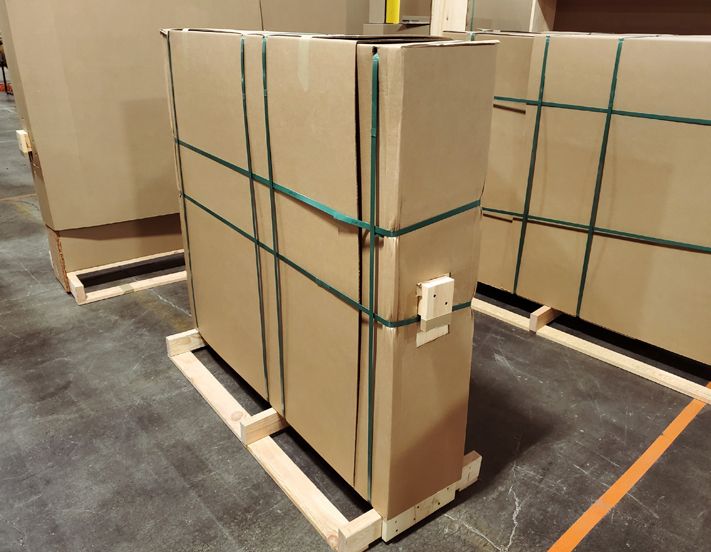
REGULAR SIZE TOTE
UNPACKING YOUR INDOW INSERTS FROM A CRATE
Slice across brown tape on top of the crate to open its lid.
Remove the lid.
Locate the front of the crate, which will be labeled “FRONT.” Using needle nose pliers, pry out staples on either the right or left side of the front of the crate.
Pry the staples out of the front of the crate and bottom edge. We recommend using needle nose pliers.
Once one side of the cardboard is free, swing the larger piece of cardboard out like a door. Inside will be the edge-wrapped Indow inserts that you can slide out of the crate and unpack using box cutters or scissors. Be careful not to puncture the silicone edges.
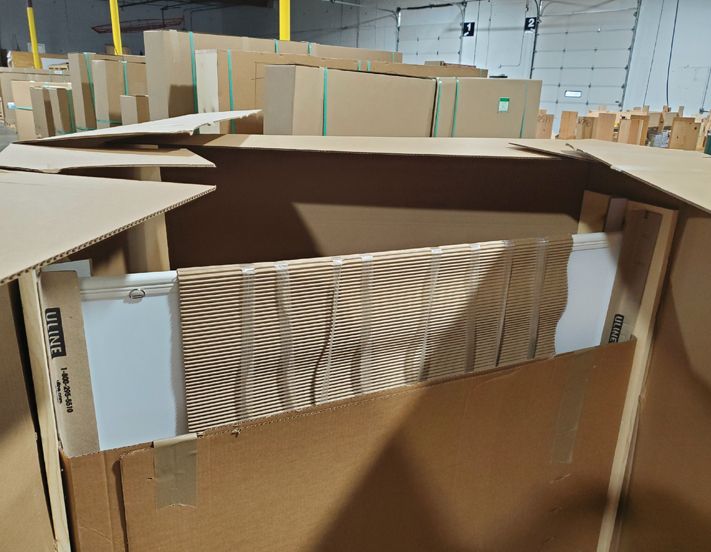
TOTE INTERIOR
UNPACKING YOUR INDOW INSERTS FROM TOTES & BUNDLES
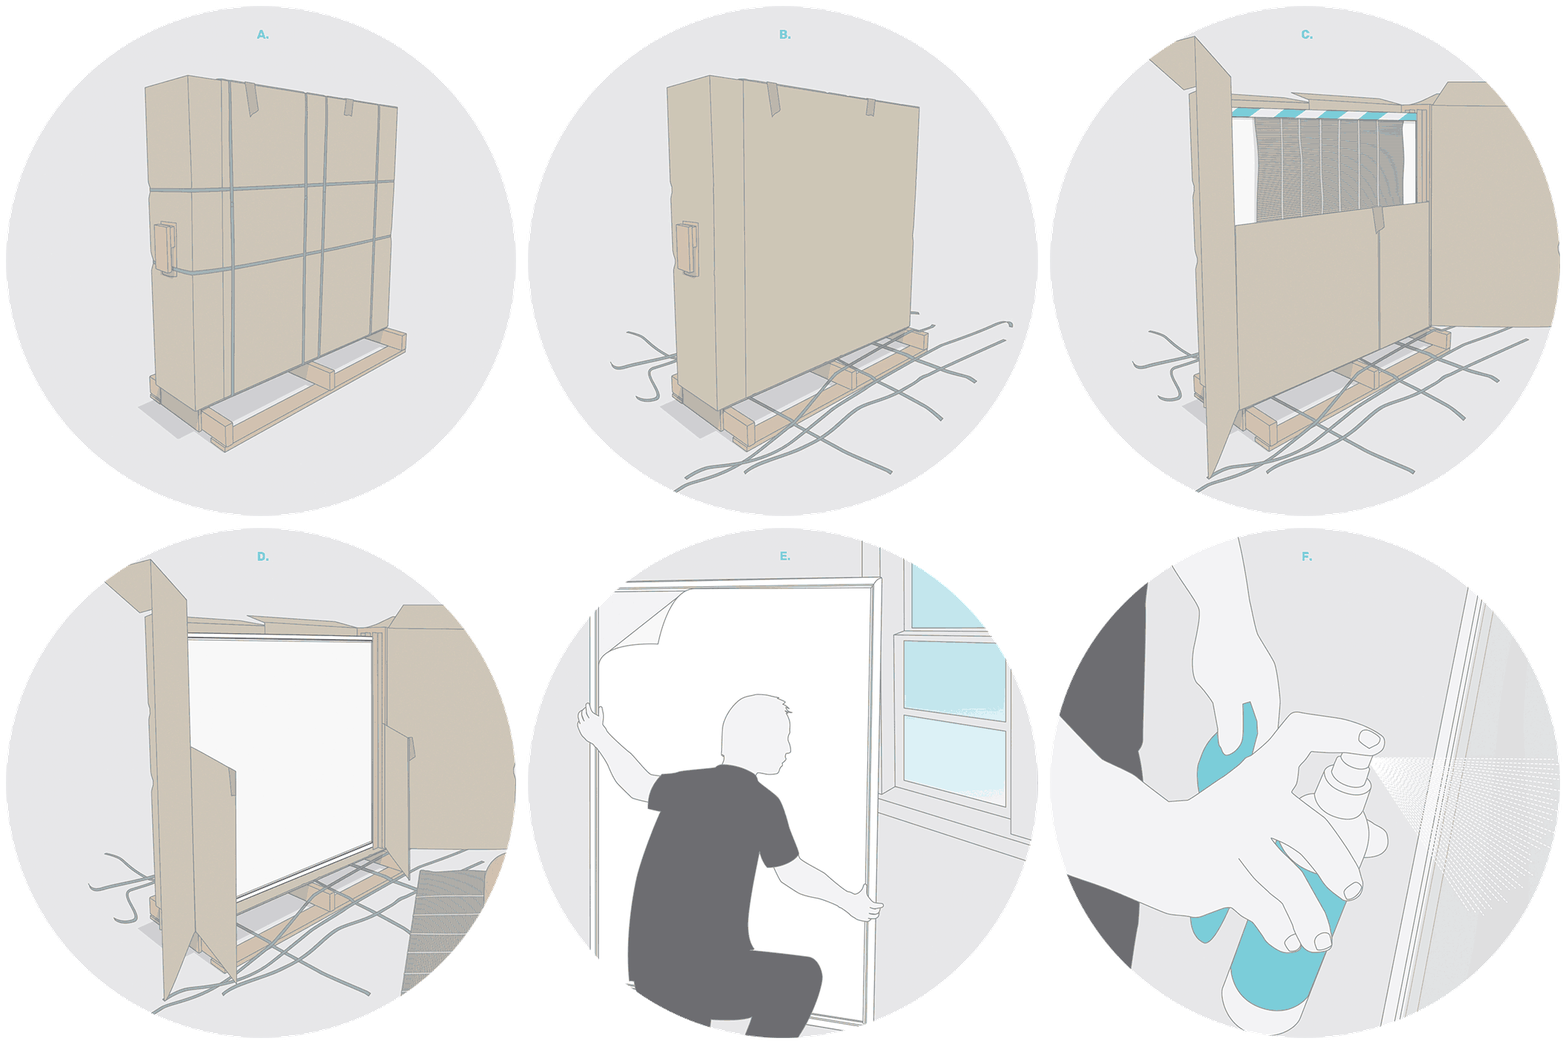
Using a box cutter or scissors, cut all the straps surrounding the tote.
Slice across brown tape on top of the tote. The pieces of cardboard will come apart and you can easily swing them open to remove them.
Once the tote is open, cut and remove any excess straps or cardboard if necessary.
Grab the insert with both hands and lift it straight out of the tote. This step may be easier with two people.
Larger totes (over 92" long and/or 70" high) will be marked "FRONT"/"BACK." Open the tote from the "FRONT" side.
STEP 2
FOR CRATES AND LARGER TOTES:
Carefully cut the straps.
Cut through the packing tape along the dotted lines at the top of the tote.
Remove the striped cardboard edging and the cardboard wrapping by cutting through clear tape.
Pull away the folds of the cardboard tote or crate.
Remove your inserts and identitfy which window they're for and peel away the protective film on the window facing side.
Once you've installed the insert clean the the room facing side of the insert.
STEP 3
HANDLING ONCE UNPACKED
Indow inserts should be held vertically to avoid bending or bowing.
If larger than 12 sq. ft., stagger your grip on either side of the panel.
If you can’t get your arms around the insert, two people should carry it.

YES

YES
Do not carry above your head or by holding the compression tube.
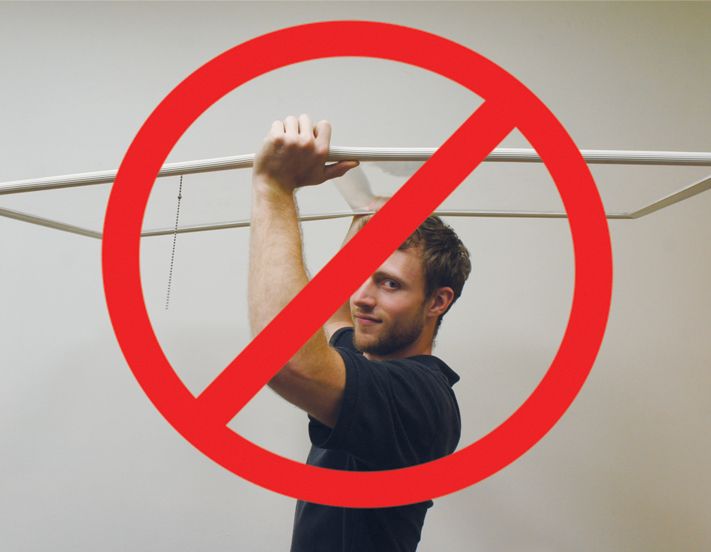
NO
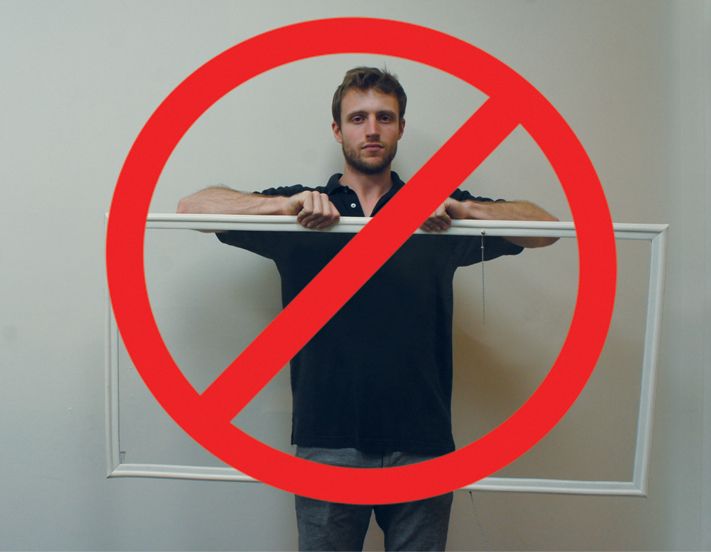
NO
STEP 4
INSPECTION
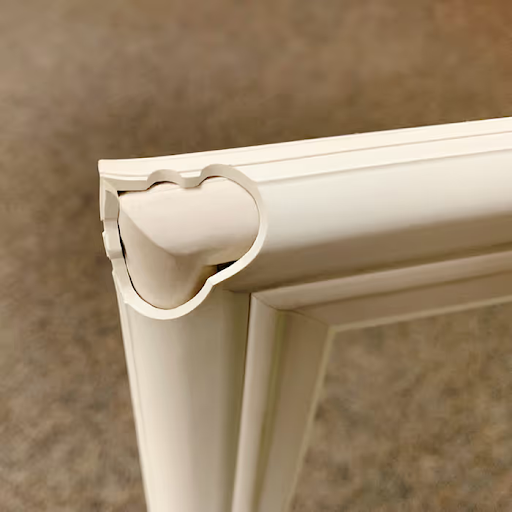
Please note: Indow inserts have scalloped cutouts on their backs that allow for a tight seal when inserted into your windows. This will be obscured by your window frame and does not constitute damage.
- Look for:
Cracks in the acrylic
Tears in the protective sheeting
Hold the insert up to a light source to detect any slits of light coming through.
Tears in the compression tube
- If any damage or defects are found, report them to Indow immediately: https://
indowwindows. com/ claim-submission-customer - If no damage is found, proceed with the instructions in our Installation Guide.
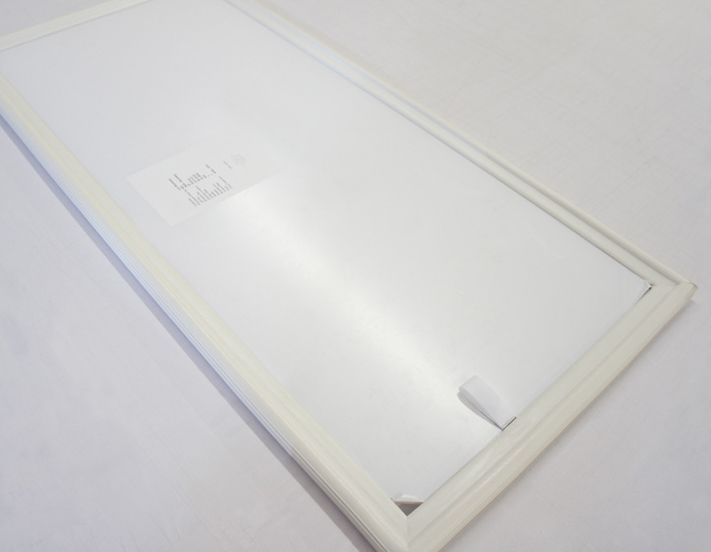
YES
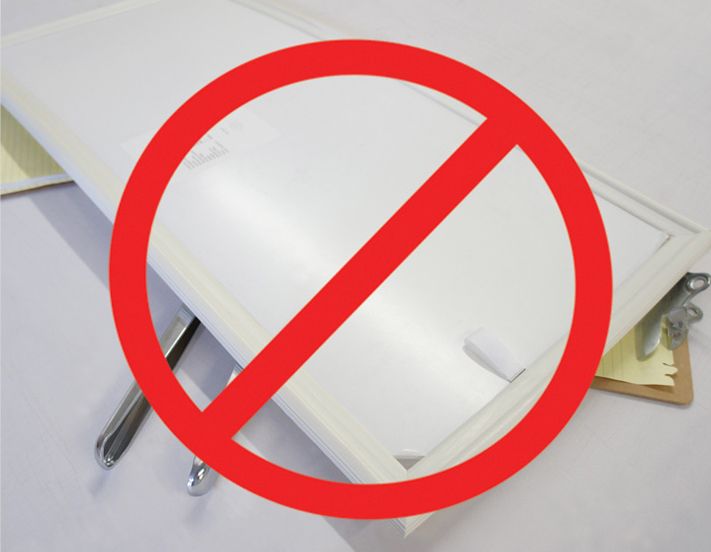
NO