Terry W
5 Stars ⭐️⭐️⭐️⭐️⭐️
At Indow we prioritize safety, both in our factory and your home. As a result, the topic comes up quite often when we discuss home improvement, especially as it pertains to your windows. The most important window-related safety issues are a window’s ability to open and close and provide a tight seal. Fully functional windows are of the utmost importance for the safety of you and your family. If you live in an older home that has seen multiple renovations, including paint jobs, there’s a good chance that you are dealing with windows that have been painted shut. We’re here to help you open your stuck windows to keep your family safe and windows healthy.
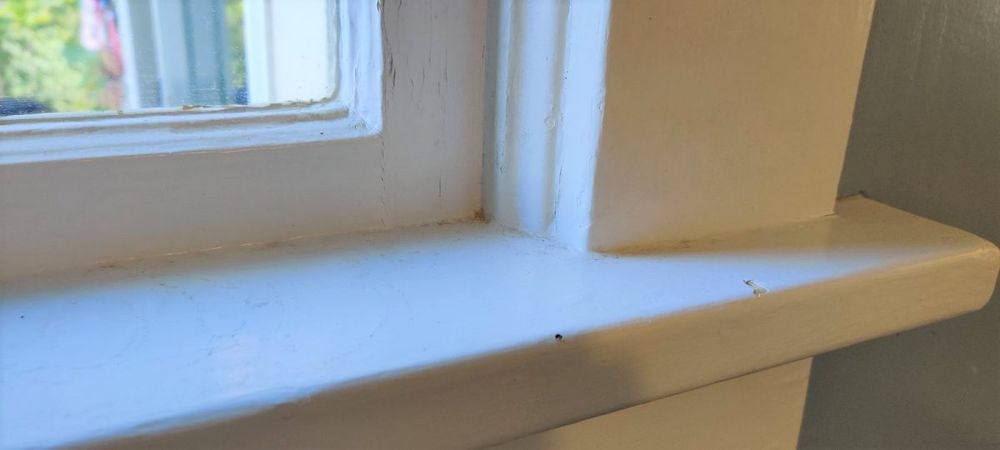
Beyond safety concerns, freeing them from their colorful confinement improves their look and increases their value. After all, windows are meant to be opened. One last consideration, especially if you own a property and are renting it, there are legal and liability issues to consider. Is it illegal to have windows painted shut? If every window in your home is painted shut, you are in violation of building code. If only a few windows are painted shut, you might be okay. Bob Vila does a fine job of detailing egress window requirements. When dealing with paint removal, it is important to understand the type of paint you are dealing with. Lead poisoning caused by ingestion of dust or chips from lead paint is a real and serious threat to DIYers with limited experience working with lead paint. Before opening your painted shut windows, please take some time to watch our YouTube video on How to Remove Lead Paint Safely.
Steps to Opening a Painted Shut Window
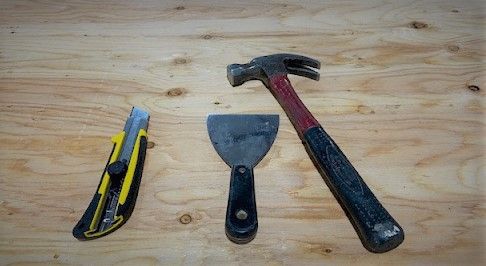
Opening your painted shut windows is a quick and easy task. Let’s get into how it’s done. To get started, you’ll need a few items:
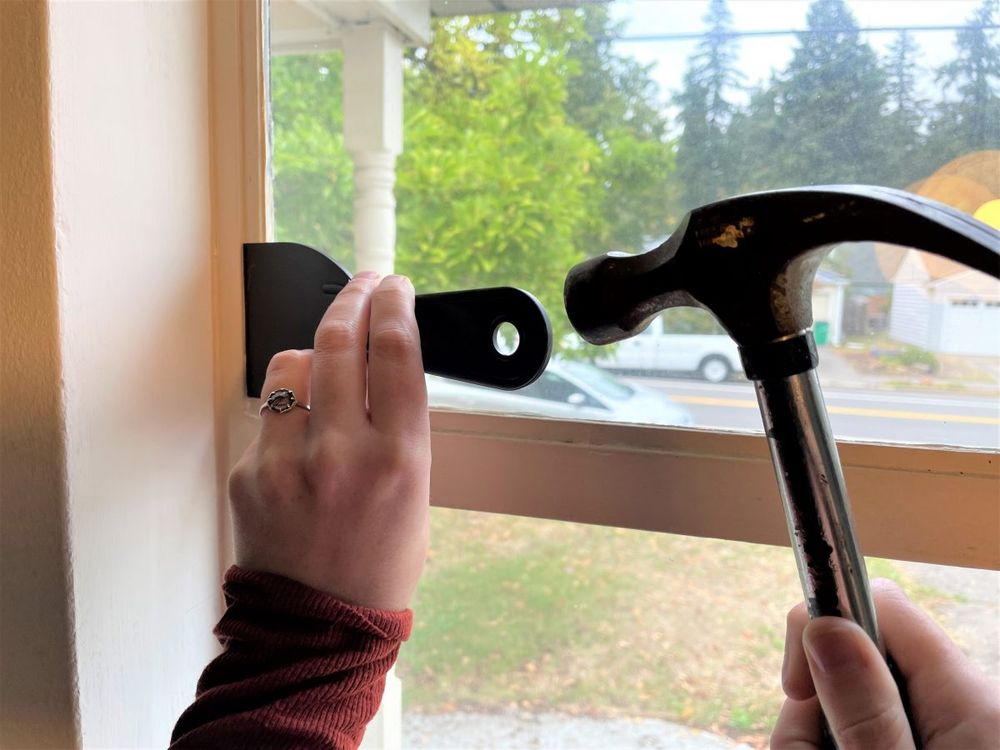
Try to break the paint seal by simply pressing the putty knife into each crevice. If that doesn’t work, try applying a bit more pressure to the putty knife by gently tapping its handle with a hammer. You will be close to your glass windows, so be sure to slowly tap the handle with the hammer, pulling the hammer back from the handle no more than 1’’ for each swing. This will lower the chances of you missing the handle and making contact with the glass.
Since we do encourage exercising caution in everything we do, if you can avoid using a box cutter or another extremely sharp object, please do. However, if at this point you still have not broken the seal, carefully use a box cutter to create a small incision along the crevice. This will allow you to wedge the putty knife and drive it in to break the seal as deeply as it goes. We recommend purchasing cut resistant gloves if you plan to use a box cutter. You can find them at most home hardware stores. Perform this step in each crevice where there is a paint seal. This will usually be between the jamb and the side stops and the window sill and bottom sash in the interior.
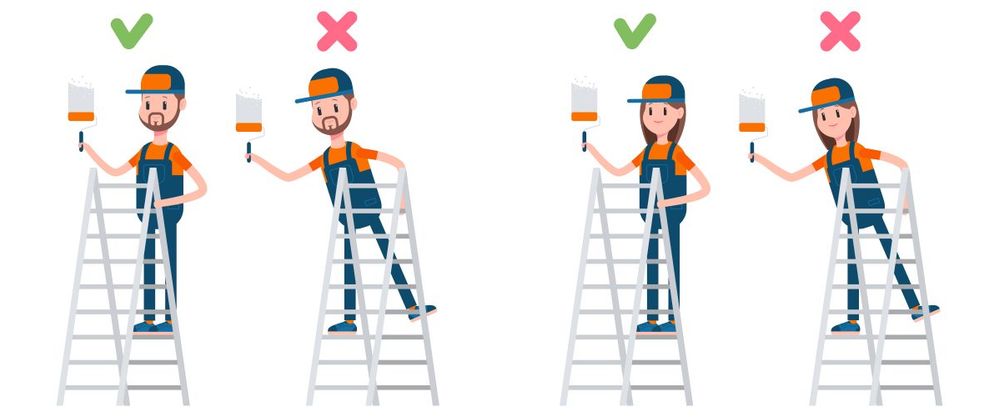
Once you’ve completed the steps to open your painted shut windows from the inside, gently try to open them. You may need to gradually increase the force, but be mindful of this since you don’t want to damage any wood or glass. If the windows won’t budge, you will likely need to perform these same steps on the exterior of the window. It is important that you make sure your ladder is stable with no movement since you will be using sharp objects. Be careful not to lean or reach far while on the ladder. Instead get down and move the ladder when needed so that your balance is never compromised as you use any sharp tools.
Your windows are open now. They thank you, and we thank you too. But now that they’re open, you may notice some chipping in the paint where you did not intend. Paint typically does not break cleanly. Larger chips will bring paint off the jamb and other parts of the window adjacent to the crevices where the paint seal formed. If you plan to repaint these areas, you will need to sand them first. Once sanded and ready for a new coat of paint, do so carefully, making sure not to get paint back in the crevice between the jamb and stop. A couple times throughout the drying process, very carefully run the putty knife up and down the crevices where you originally broke the paint seal. This will prevent the window from being painted shut again. Unless you’re an experienced painter, there’s a good chance some paint will get back in. Be sure to remove the putty knife and wipe it off cleanly after each pass.
Why were your windows painted shut in the first place? This can be the result of lack of caution during past paint jobs. When painting the frame or window sash, paint can easily find its way in the cracks, causing a seal that will make the windows inoperable. In other instances, homeowners will address drafty windows by sealing them with paint. While it is an effective solution, it does make windows inoperable, which is a safety concern. Once you free the windows from their paint seals, those draft issues will likely return. Indow has a solution. Indow inserts are placed in the window frame and provide a nearly airtight seal. In homes outfitted with Indow inserts, energy bills are reduced by an average of 20% as a result of the warm air being kept inside. This allows homeowners to run their heating systems less.
Have you opened your own painted-shut windows before and used a different approach? Or maybe you had special windows that required a few extra steps? We would love to hear your success story! Comment below and tell us about your experience opening painted shut windows.
Indow has insulated more than 23,000 buildings - helping reduce carbon emissions by nearly 200,000 tons - and creating comfort across the US & Canada!
The indow window company and their staff are great Partners in battling the cold winter drafts coming through your windows and helps keep your home warm and cozy.. Wonderful company and great customer service..