Charlie
5 Stars ⭐️⭐️⭐️⭐️⭐️


Winter can be brutal on your home or office. Icy winds and frigid air will look for anywhere they can to infiltrate your space. This can make your building drafty and uncomfortable, and also might drive up your utility bill as your furnace works overtime to make up for the heat loss. Many forms of winter window cover can help fight against these drafts and rising utility bills.
Weather can affect many areas of your home, but if you insulate your windows for winter you’ll get the biggest return on investment. Older ones may account for much of the cold air leaking into your building, thanks to worn out seals or cracks in the frames. By taking the time to winterize your windows, you can solve a large portion of the problem and have a warmer, more energy-efficient space.
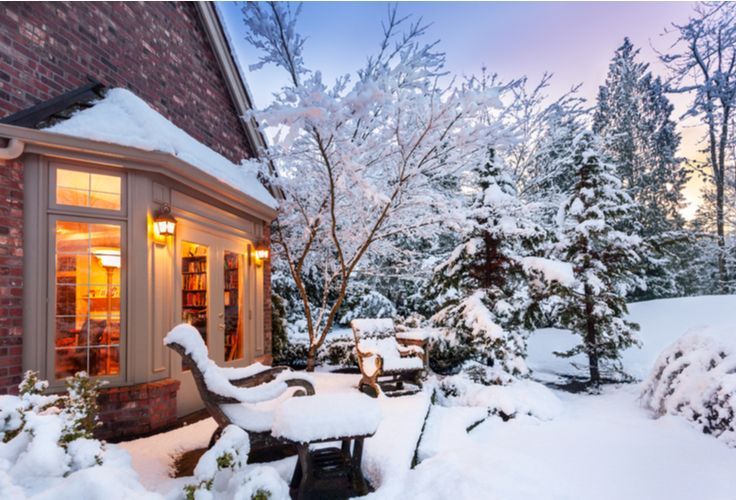
There are many ways to insulate windows for winter. Here are five popular and effective ways to save some money and keep out the chill:
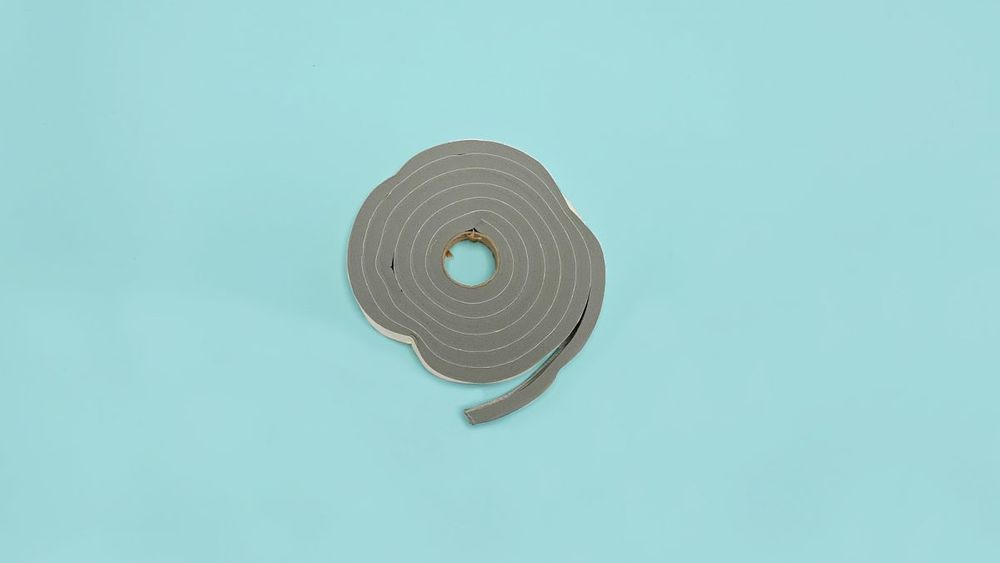
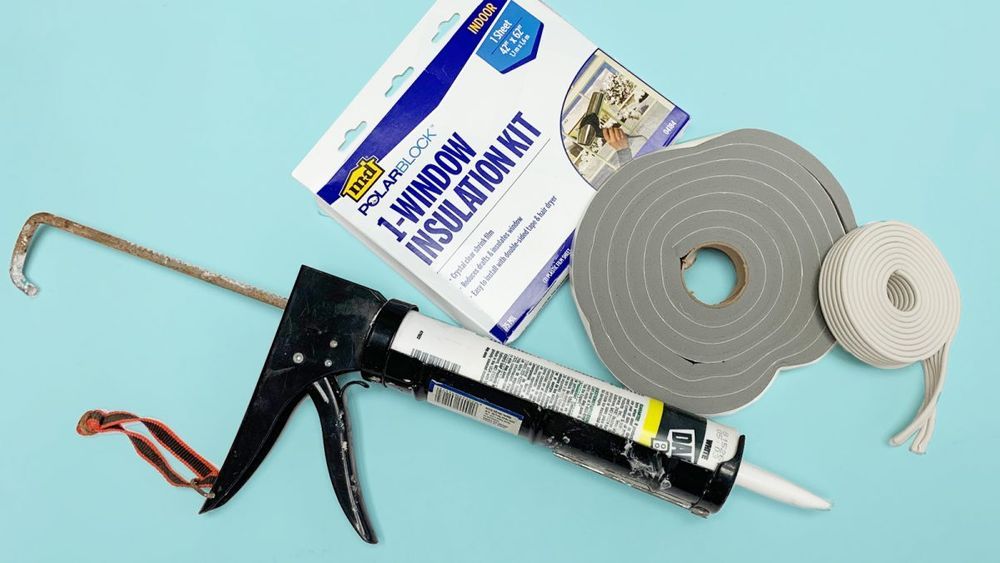
1. Weatherstripping: Seal windows for winter with weatherstripping. Whether it comes as strips of foam, rubber tubing or rigid gaskets, these materials serve to create a barrier against the cold air. This is one of the most common methods of weatherproofing windows for winter because it seals the gaps between them and their frames. Depending on how comfortable you are with DIY projects, you may be able to weatherproof your windows fairly quickly. Many types feature self-adhesive backings, fit into place using tension or even attach with magnets. Weatherstripping may change the look of your windows considerably, however. If aesthetics are important to you, it might be worth looking at another option.
Advantages: 1) Cheap 2) Easy to apply 3) Addresses drafty sashes
Disadvantages: 1) Can change aesthetics 2) Doesn’t address cold panes that quickly cool the inside air
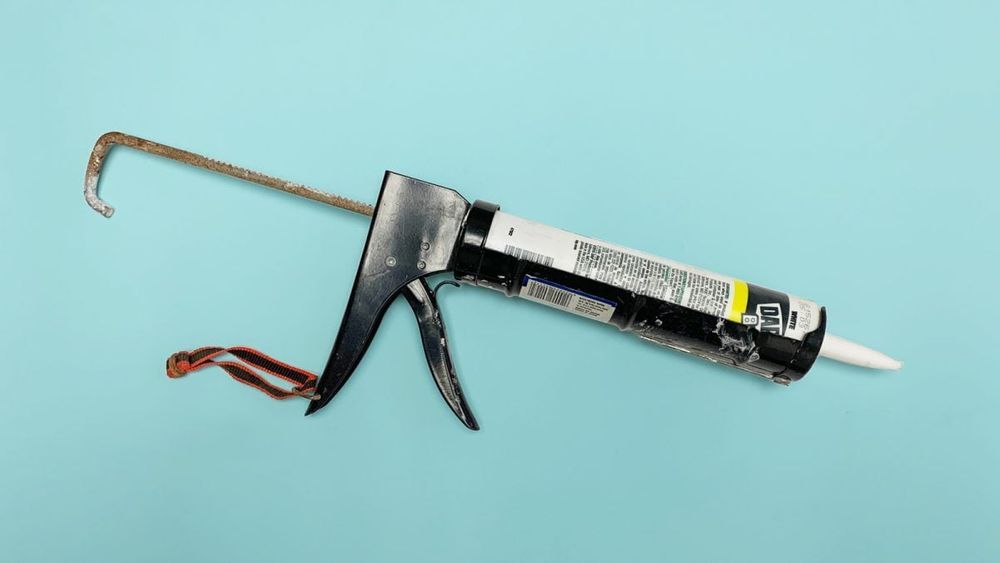
2. Caulking: Caulking is another option to seal windows for winter. In some cases, your windows may be old enough that the caulk around them has deteriorated or shrunk. This creates gaps where freezing air could slip inside. If that’s true anywhere around your property, re-caulking could be the way to go. You’ll need to remove the old caulk with a screwdriver, putty knife or another tool before reapplying. It’s also important to choose the compound you use carefully, as not all are suitable for outdoor applications. If you’re experiencing a draft and want to solve the problem right away, however, you may not be able to use this method. That’s because the temperature needs to be higher than 45 degrees Fahrenheit to achieve the best results.
Advantages: 1) Cheap 2) Easy to apply 3) Addresses cracks
Disadvantages: 1) Messy 2) Doesn’t address cold panes that quickly cool the inside air 3) Can damage frame when removing previous winter’s caulk 4) Must apply before weather gets too cold
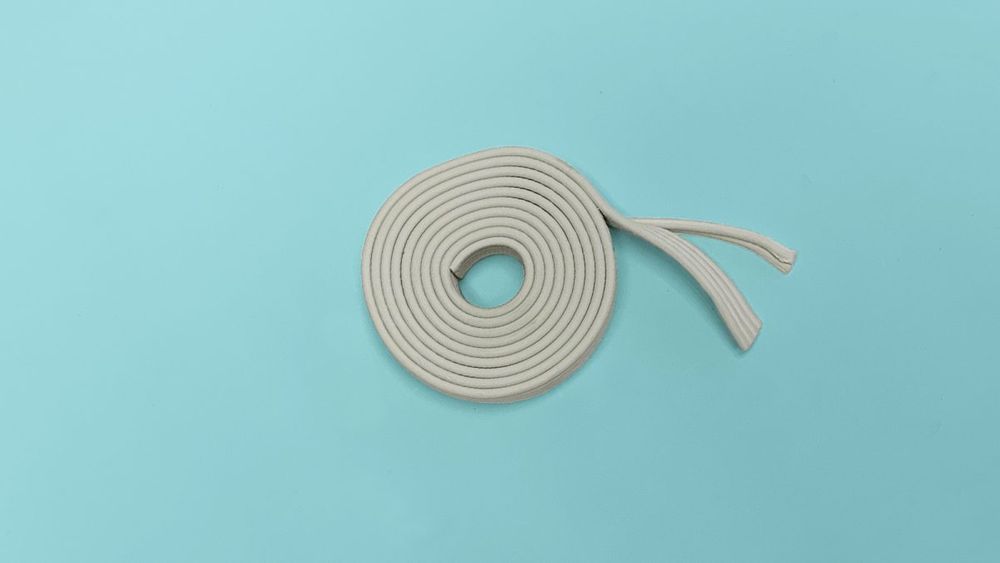
3. Draft snakes: One of the simplest forms of winter window cover is a draft stopper or “draft snake.” This is nothing more than a long sleeve filled with dense materials such as dry rice. Many people make them at home out of old socks or sweatpants. Draft stoppers may be enough to block a small amount of air from the outside, but they might not be completely effective because they work best laid along the bottom edge of the window. On the plus side, draft snakes are easy and cheap compared to other types of weatherproofing.
Advantages: 1) Cheap 2) Easy to apply 3) Easy to remove 4) Fun designs
Disadvantages: 1) Works well only at the base of the window 2) Doesn’t give airtight seal against
4. Shrink-wrap kits: Found at practically any home improvement store, these DIY kits involve applying plastic around the windows and using a hair dryer to shrink-wrap them. This almost completely seals the entire frame and prevents any air from getting in or out of the room. Many homeowners swear by these kits as the best method for insulating windows for winter. Still, the size of most commercial buildings’ panes makes shrink-wrapping impractical. You’ll also have to wait until spring if you want to open the window without tearing the plastic. These are often used along with weatherstipping and caulking to further insulate windows for winter.
Advantages: 1) Cheap 2) Seals frame
Disadvantages: 1) Unsightly 2) Have to tear it off to open windows 3) Can damage frames when removing 4) Can’t fit all window sizes
When researching how to insulate windows for winter, if you’re only asking what you can put on the windows to keep cold out, or how you can seal cracks, you’re addressing only part of the issue. The fact is cold gets in your home through both the window sashes and the glass. You need a solution that seals the entire frame so neither the sashes or cold glass are affecting the inside air.
5. Window inserts: Also known as interior storm windows, these customized inserts fit snugly into the existing frame. There, they create a near airtight seal that blocks the cold, making them the best way to winterize your windows. Indow® uses proprietary software to design compression-fit inserts that fit virtually any existing window. Our products can be installed without hardware and are almost undetectable. What’s more, they cost less than installing all-new windows. And with an average of 20% savings on energy bills with Indow inserts and a limited lifetime warranty, this is a worthwhile way to insulate your windows.
Advantages: 1) Easy installation 2) Easy removal 3) 99% airtight seal 4) Can also address noise and harmful UV radiation
Disadvantages: 1) Must remove to access windows, but compression tube allows for countless installations and removals

To learn more about our efficient, cost-effective solutions for weatherproofing, get in touch today.
Indow has insulated more than 23,000 buildings - helping reduce carbon emissions by nearly 200,000 tons - and creating comfort across the US & Canada!
This was the easiest install, as well the team are amazing, get right on a call answer the questions, there support is fantastic. I measured all my windows live near a street looking to knock down the noise.
I tested this bought Indows installed them Noise went down shipping, timing and quality was great.
Now I’ll install 4 more.