Indow Safety Hardware
We have a customer resource page full of advice on measuring, installing, or caring for your insert. Visit any time you have an issue.
Window inserts offer many great benefits from insulation to noise reduction, but if they aren’t safely installed, they can become a hazard. This page will walk you through proper window insert installation including adding safety hardware for large or shallow installs.
Safety Brackets
Brackets are used for larger inserts to keep people and objects safe in the event the insert falls out of the window. This is unlikely, but we’d rather be safe. Please follow our installation guide for full details on installing your Indow inserts. The instructions below are if you are installing the safety brackets after your inserts have already been installed. If your insert did not come with the safety chains attached (due to size or shape), this will not apply.
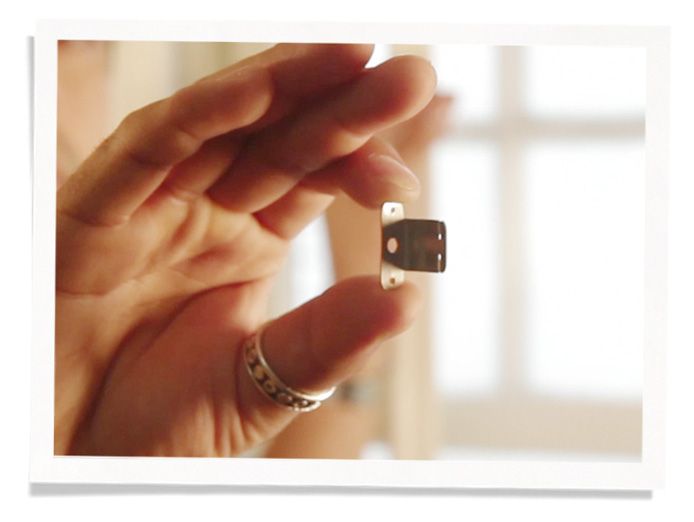
Install hardware in your window frame.
Brackets are installed inside the window frame on each side.
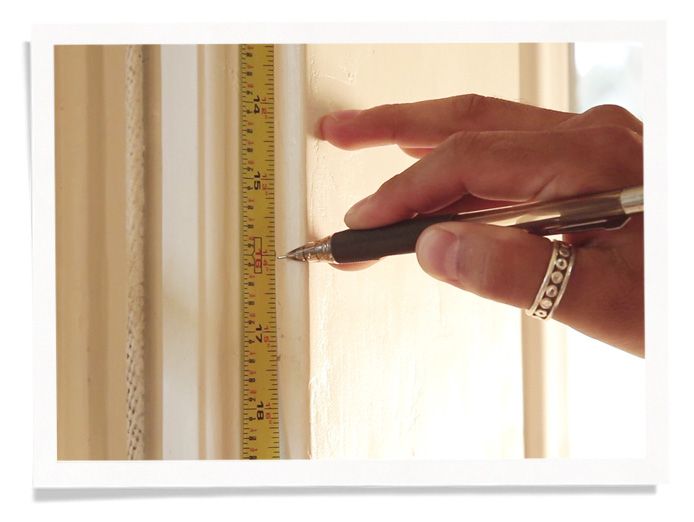
Measure distance indicated on product label (or the location mailed to you) up from bottom of window frame. Mark with pencil. Bracket will sit behind insert so it is hidden from view. If you do not have the location, you can easily visually line up the end of the chains with your window frame. Measure the distance for each size to ensure consistency.
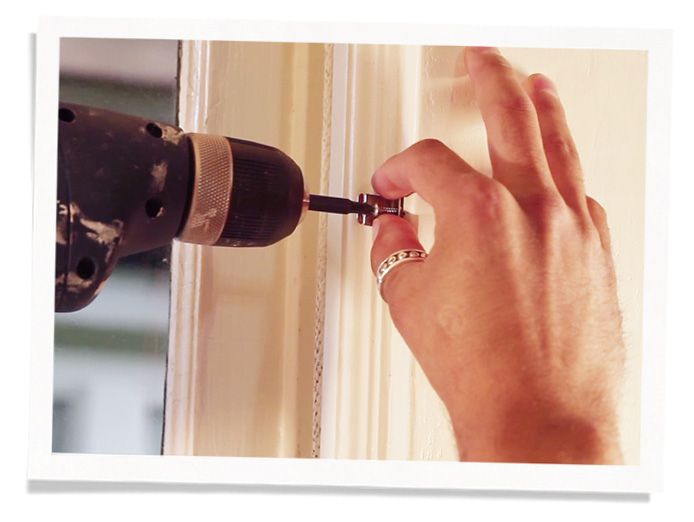
Drill a small hole (we suggest 1/16”). Use provided screws to install brackets.
Insert the insert.
Place bottom of insert on window sill and within the indicated frame step (centered, with the same amount over the window frame on right & left). Gently push bottom of insert into place. Make sure the bottom corners are evenly compressed.
Attach safety chain.
Reach around both sides of the insert to place last ball of the chain into the bracket.
How to Install Swivel Clips
Swivel clips are clear plastic clips attached to your window frame with a single screw. They turn to affix your Indow insert in place. Insert must be flush with your window trim for this accessory to work.
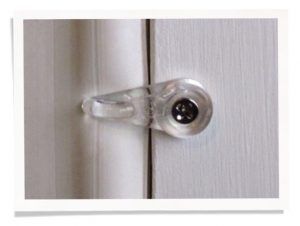
Pre-drill holes in your window frame.
Install one frame clip on each side, typically ⅔ up from the bottom of the window sill and ¼” from the edge of the frame. Pre-drilling a 1/16” hole prior to installation of the frame clip will ensure your wood does not split.
For drafty windows, install another on each side.
If you have drafty windows that let in a lot of air, install another pair of frame clips 1/3 up from the bottom. Often, one frame clip on the top of the window or one on each side is adequate.
How to Install Retaining Pins
Retaining pins can be installed in front of the Indow insert to hold it securely in place. This works great with deeper window wells or situations where the swivel clip does not work.
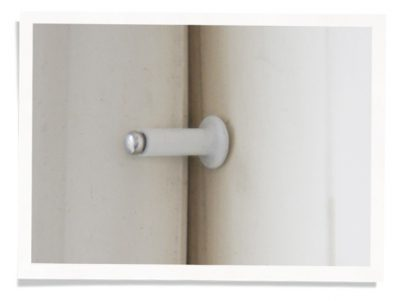
Pre-drill holes in your window frame.
Use a 5/64″ or 3/32″ drill bit to pre-drill holes for 1-2 retaining pins on each side of your window, typically ⅓ of the way down from the top, right in front of where your Indow insert will be installed. Make sure that the retaining pin will not be pressing into your compression tubing, which could cause damage.
For drafty windows, install another on each side.
If you have drafty windows that let in a lot of air, install another pair of retaining pins 1/3 up from the bottom. Often, one pin on the top of the window or one on each side is adequate.
Our Location
We are a Portland-based company serving the U.S. and Canada
Email opportunity@indowwindows.com Call (503) 284-2260
Send us a letter 6427 NE 59th Place
Portland, OR 97218 (visits to our facility are by appointment only)
